Thursday, December 18, 2014

Birthday Weekend

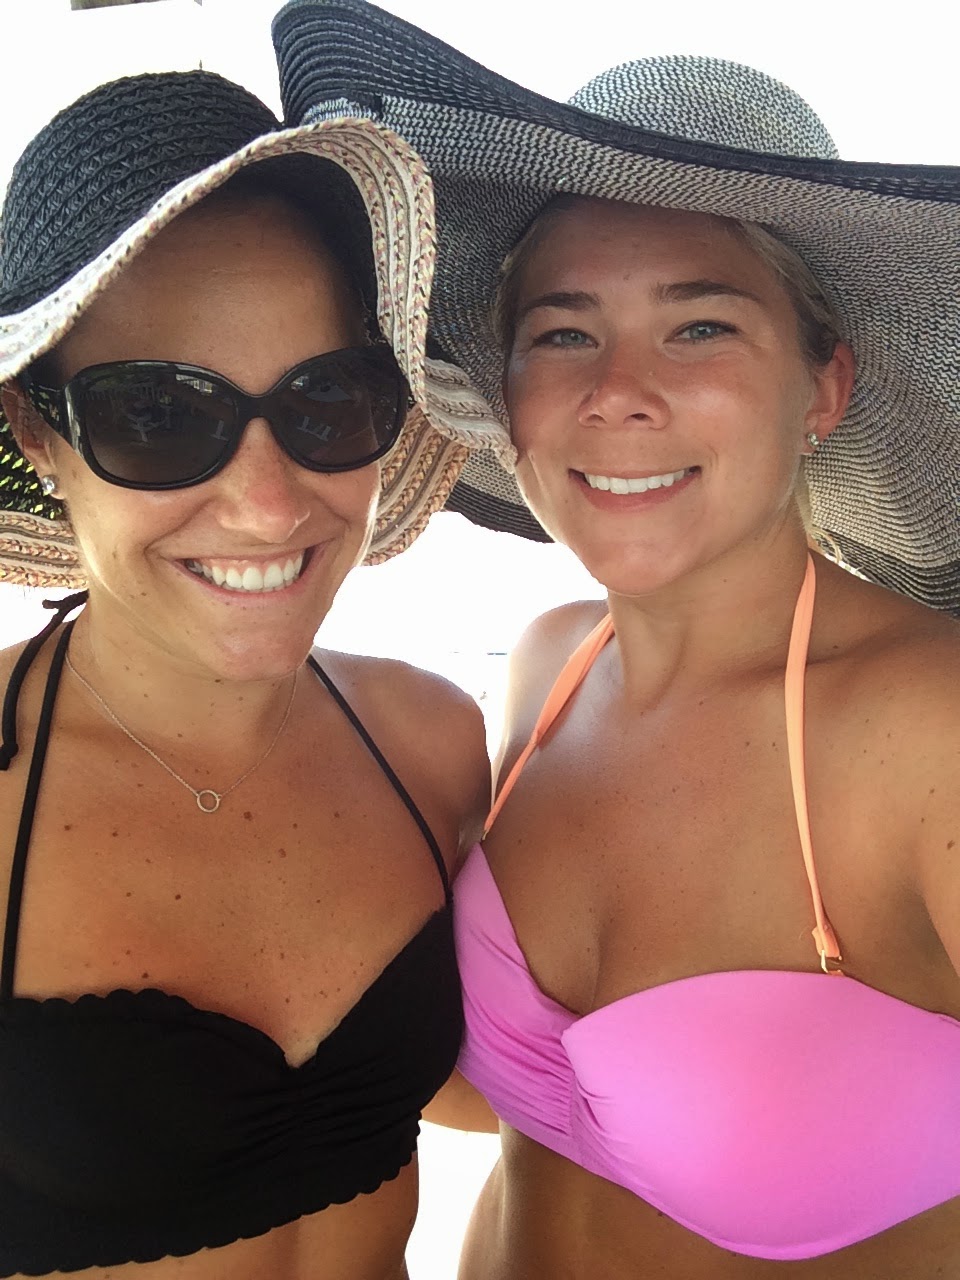
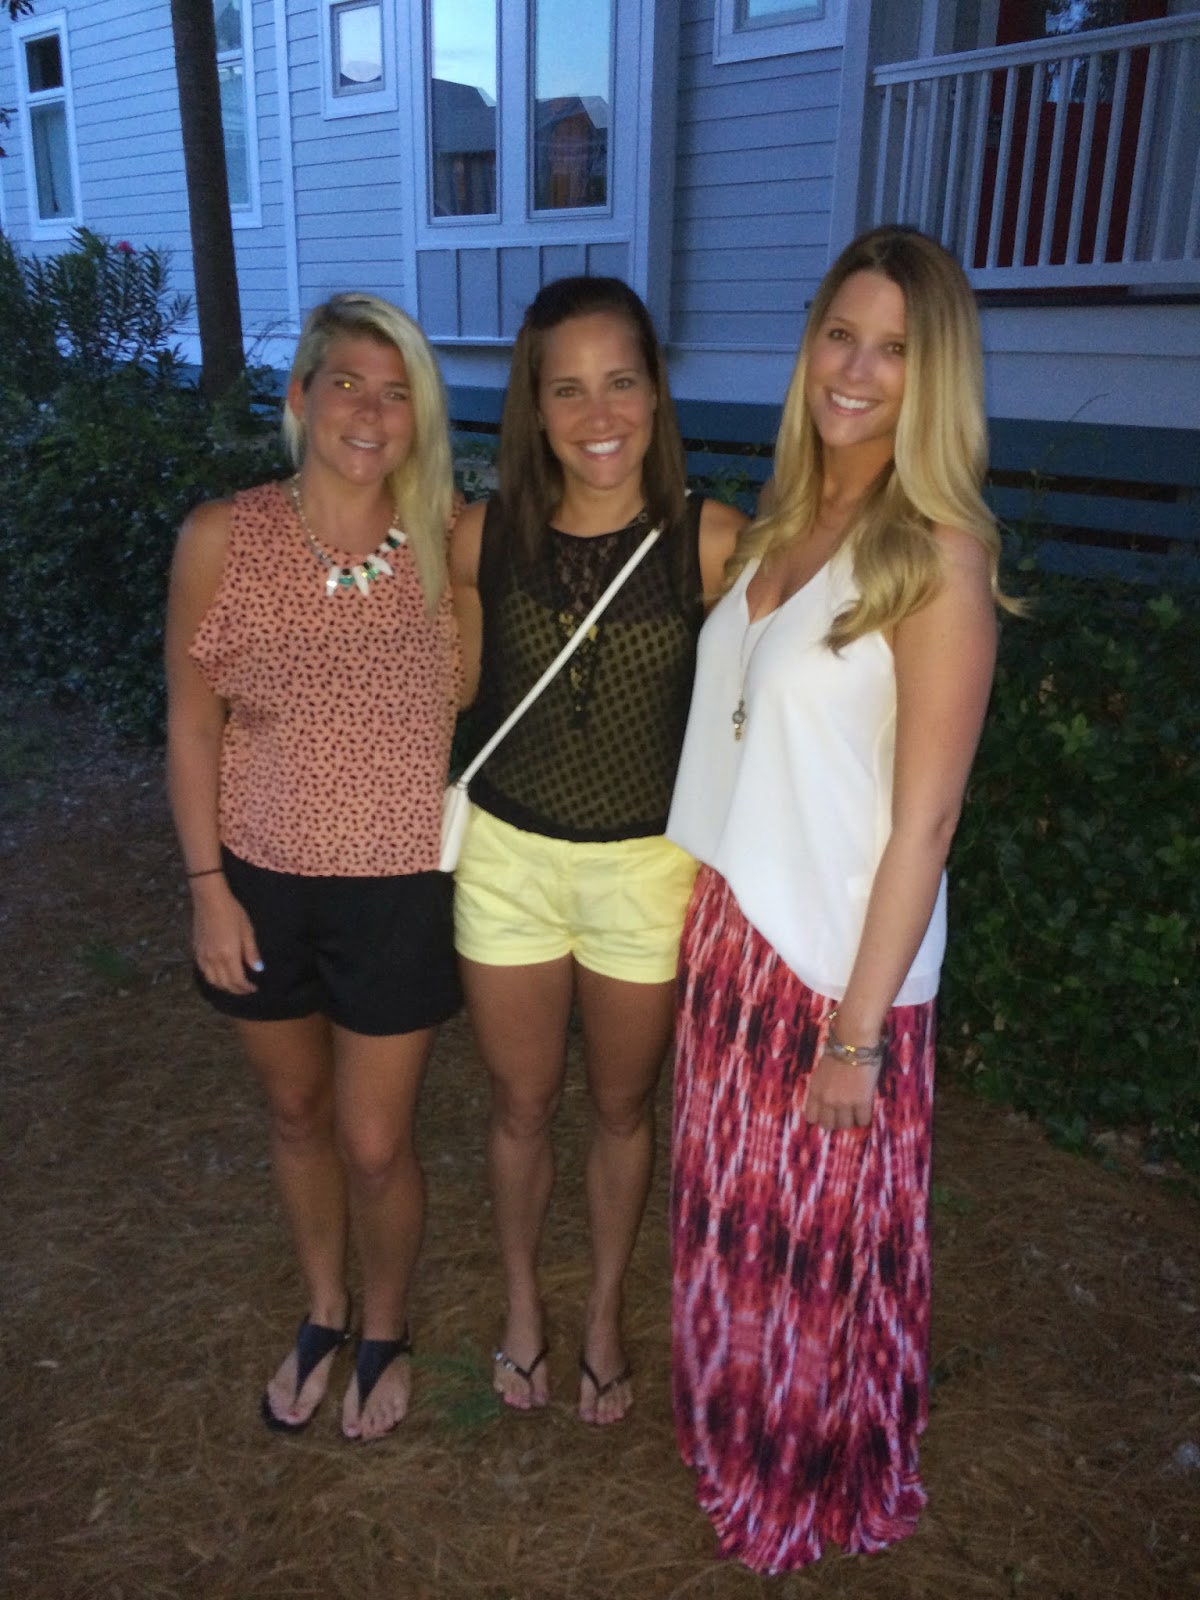
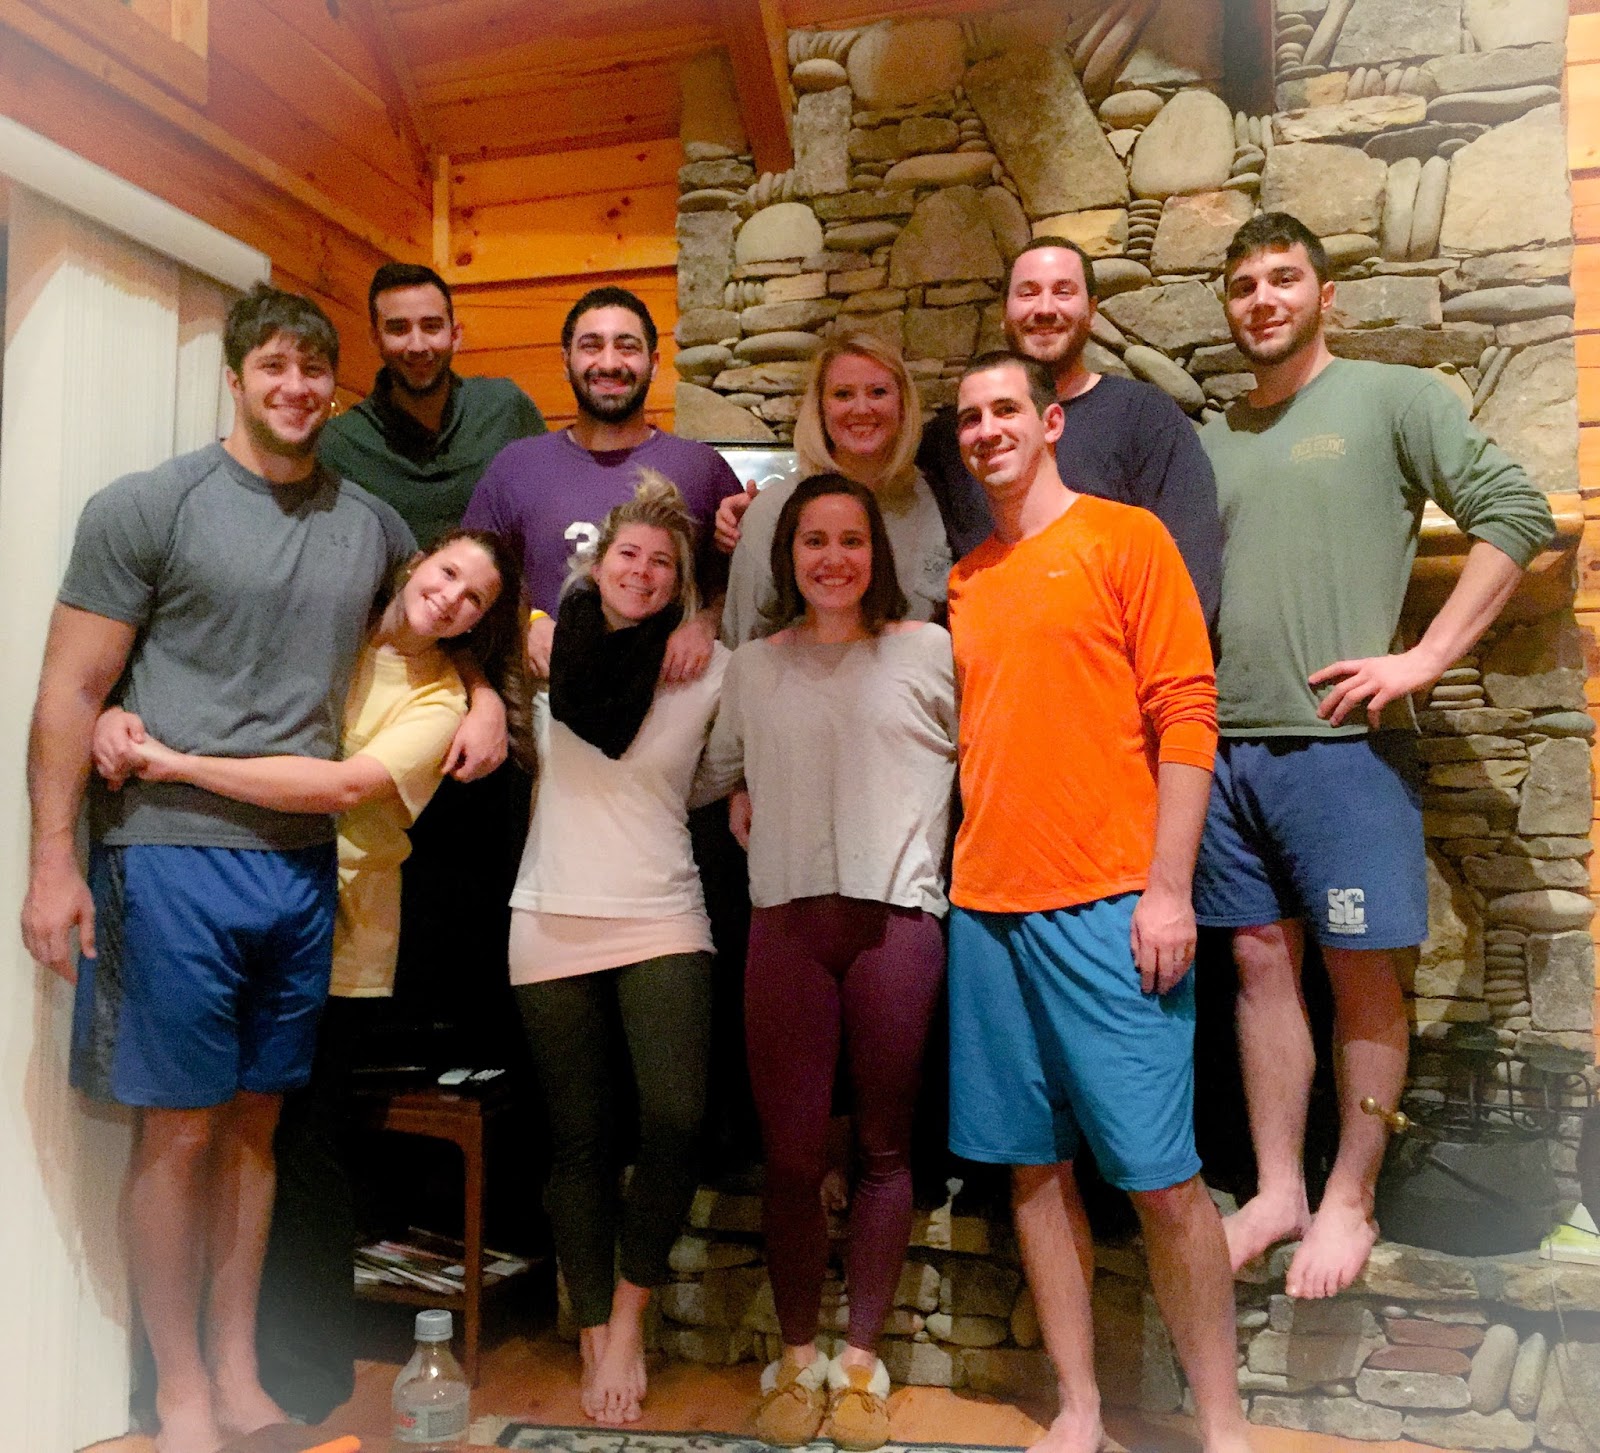
I never am much of a birthday person, but I sure do love my cabins!  Since we really have something to do almost every weekend, and it isn't tennis season, we decided this was a great weekend get away with friends and it conveniently fell the weekend after my birthday!  I was so excited to have friends come hang out for a couple days!

We hit the road on Friday around 3:30 so that we could get settled in before dark.  We made it just in time even after sitting in traffic for a bit, and we quickly got unpacked.  Joe and I had lovely company in the car since Kellie Ann was driving up with us as well as one of Joe's coworkers.  Joe and I had bought all the food so we had a car full of things to unpack!  Once we got settled in, Kellie Ann slowly started getting things prepared for dinner (it was fajita Friday) and the guys started trying to get a fire started.  Around 8, my brother, Duncan and Allie, and Reza arrived, just in time for dinner to be served.  We enjoyed fajitas, guacamole, buffalo chicken dip, beans, rice, and I am sure I am missing something!  We definitely had enough food!  After that, there was some Foosball played, a bonfire was made outside to relax around (although we had to go in after a while because it started raining) and we spent a lot of time enjoying the hot tub.  Amanda and Will finally made it around 10, and we played some card games (BS and an attempt at Go Fish)  Since we were all pretty worn out from a long work week and some people had quite a long drive, we headed to bed fairly early. 
So much food!
Everyone slowly got up the next morning and we got breakfast ready.  We kept it simple with eggs, bacon, sausage, biscuits, and bagels and of course had mimosas.  After breakfast, the prepared some of the things for "thanksgiving dinner" that night and then since the rain had stopped, we decided to go hiking!  The weather wasn't perfect, but we survived with only one small portion being super rainy!  Some of the girls made it 4 miles and the rest of the group did right around 3! 
Ready to Hike!

After we got back, it was time to sit back and relax.  We made burgers and hot dogs for lunch and finished the leftovers from the night before, then settled in for some football.  The girls enjoyed some time in the hot tub gossiping and catching up while others took afternoon naps.  Since we had eaten a super late lunch, we enjoyed the FSU/GT ACC championship game, and then had dinner during halftime.  We enjoyed a green bean casserole, cheesy mashed potatoes, turkey, cranberry sauce, and stuffing.  You can never have too much Thanksgiving!
 
Thank you for a wonderful weekend :)
Slowly everyone drifted to bed, and then got up in the morning to enjoy one last breakfast.  We enjoyed everyone company, then around 10 or so, we started packing up and hitting the road.  Domen left with my car keys so we were a bit delayed in leaving, but enjoyed some backgammon while we waited for him to get back.  It was such a fun and relaxing weekend and I am so grateful for the friends that had such a long drive to enjoy the weekend with me!  I couldn't ask for a better, more relaxing birthday weekend!
Thanksgiving Week

The fall season has come and gone in a blink of an eye and now we are coming onto our holiday season!  We have had such a busy fall with weekend getaways that the year has come to an end incredibly fast!  I am going to back track a little bit and cover some wonderful trips that we took.  We love going up to the mountains during the fall so we take any chance we can get to do so.  We always do a cabin weekend for my father in law's birthday in November, and this year it fell the weekend before Thanksgiving. After taking all Thanksgiving off and enjoying way too much food, we also decided to celebrate my birthday with some friends in a cabin in Blue Ridge (to be posted in the next post). 

For my father in laws birthday, we hit the road around 4 on Friday to make the drive up to the mountains.  The cabin was up in  Blue Ridge, and shortly after we arrived, Joe's parents and brother got to the cabin.  We relaxed and unpacked the car for a bit and then enjoyed some dinner.  Dinner was amazing ribs, brisket, cole slaw, and mac and cheese, prepared before we got to the cabin.  After dinner, it was time to cut the cake.  We enjoyed some cake, tea, and football before heading to the hot tub for a bit before bed time.
The recipe for the cake can be found here
  
The next morning we slept in and slowly got up.  Joe's mom made french toast and sausage while Joe got the fire going.  After breakfast, Joe and I went on a short hike before we got ready and headed to downtown Blue Ridge to explore.  After exploring the area, we enjoyed some hot chocolate before heading back to the cabin.  Once we got back, it was time for our 2nd annual wine tasting! We sampled 4 wines
After wine tasting we relaxed a bit before it was dinner time. Dinner was wonderful grilled steak, mashed potatoes, mushrooms, and I am sure more food.  It was all so good!  After dinner it was time for Yatzee.  Unfortunately I didn't win, but had such a fun time!  It was bed time before we knew it, so after some more hot tub time, we headed to bed!

The next morning we slowly got up and had waffles for breakfast, then hit the road.  Joe and I headed to Friendsgiving at Kristina's house which has become a tradition. We had made the stuffing to bring at the cabin, so we just warmed it up once we got to her house.  After enjoying friends and food, we headed home to enjoy Thanksgiving week!

I was off all week so life was good!  A lot of errands had to be run, and the house needed a good cleaning from top to bottom. We enjoyed a wonderful Thanksgiving meal at the DiDias.  My parents drove down to Atlanta and my brother joined us.  It was so wonderful having the whole family together!  We enjoyed a fried turkey and a traditional one, lentils, potatoes, stuffing, cranberry sauce, homemade bread, and so much more!  We also had an apple and chess pie for desert!
Kellie Ann and I got a hike in on Wednesday around Roswell Mill and didn't get lost.  
Joe and I picked up our tree from Pike and started the decorating process.
On Saturday we watched Georgia Tech football beat UGA in their rivalry game at Duncan's house after drinking our hearts fill of Mimosas and made sure all the dogs were wearing their best GT attire.   All in all, it was just a fun and relaxing week.   

Cookie Dough Brownie Cake

I love making cakes, but there aren't too many occasions when you get to make one!  Joe's father's birthday was is a perfect time to make a wonderful cake since we always go up to the cabins to enjoy his birthday weekend.  This time around, Joe picked the cake, so of course it is going to have chocolate incorporated in it!  The cake turned out beautiful and was actually quite simple to make!  I forgot to take a good picture of it so you will see the picture from the page where I got the recipe!  Enjoy!

Cookie Dough Brownie Cake
Ingredients
Brownie Cake:
  • 1 and ½ cups vegetable oil
  • 3 cups sugar
  • 3 teaspoons vanilla extract
  • 6 eggs
  • 1 and ½ cups flour
  • 1 cup cocoa powder
  • ¾ teaspoon baking powder
  • ¼ teaspoon salt
Cookie Dough Filling:
  • 3 sticks unsalted butter, at room temperature
  • ¾ cup light brown sugar, packed
  • 3 and ½ cups confectioners’ sugar
  • 1 cup all-purpose flour
  • ¾ teaspoon salt
  • 3 Tablespoons milk
  • 2 and ½ teaspoons vanilla extract
Ganache Frosting:
  • 4 ounces semi-sweet chocolate, finely chopped (or use chocolate chips)
  • ½ cup heavy whipping cream
  • ¼ cup light corn syrup
  • 2 teaspoons vanilla extract
  • Extra chocolate chips, for garnish
Directions
Brownies:
  1. Pre-heat oven to 350 degrees (F).
  2. Prepare three 8-inch round baking pans with cooking spray and parchment.
  3. In a large bowl, combine sugar and oil. Stir with a large wooden spoon until completely combined.
  4. Add eggs one at a time, stirring and incorporating each completely before adding another.
  5. Add vanilla, stir to combine.
  6. In a medium bowl, combine dry ingredients (flour, cocoa powder, salt and baking powder.) Whisk to combine.
  7. Add dry ingredients a little bit at a time, stirring until just absorbed each time. I added mine in 3 batches. Do not over-mix, just stir until dry ingredients are fully incorporated.
  8. Pour batter evenly into three prepared pans.
  9. Bake for 20-25 minutes, or until a toothpick comes out with wet crumbs.
  10. Cool completely, then remove from pans and set aside.
  11. Prepare filling.
Cookie Dough Filling:
  1. In a large bowl (I used my stand mixer) beat butter and brown sugar until light and fluffy.
  2. Add confectioners' sugar, and beat to combine.
  3. Add flour and sugar, beat until combined.
  4. Add milk and vanilla, beat until light and fully.
Ganache Frosting:
  1. In a medium glass bowl, heat heavy cream in the microwave until steaming hot but not boiling, about 45 seconds. (Microwaves vary, so just watch yours carefully.)
  2. Remove hot cream from microwave, and pour chocolate chips into the cream.
  3. Allow to sit for 30 seconds, then slowly stir with a rubber spatula until cream and chocolate fully combine, and chocolate melts completely.
  4. Stir in corn syrup and vanilla, and again stir until completely combined. Set aside while you assemble the cake.
Assembly:
  1. Place one layer of brownie cake on your serving platter. Spoon about 1 cup of frosting over the top of the cooled cake, and spread just to the edge of the cake.
  2. Place another layer on top of the first. Press down slightly to secure.
  3. Spoon another 1 cup of frosting over the top of the layer, and spread just to the edges of the cake.
  4. Spoon remaining frosting into a piping bag with a star tip for decorating.
  5. Place top layer of cake over the frosting. Press down slightly to secure.
  6. Place cake in refrigerator for 10 minutes.
  7. Remove chilled cake from refrigerator. Slowly pour about ½ cup of ganache over the top of the cake, and using an offset spatula, slowly spread it to the sides of the cake, just barely pushing it over the edge. Add more ganache until you reach your desired coverage.
  8. Place cake back in refrigerator for 20 minutes to allow ganache to firm up.
  9. Pipe decorations around cake, sprinkle with chocolate chips and drizzle with leftover ganache.
  10. Enjoy!

Tuesday, December 16, 2014

Holiday Sweets

Every year, the holidays bring a great opportunity for me to bake all day and then give the goodies away.  I love baking, but often times they sit in the house and we either eat them all (which just isn't healthy) or they go to waste.  Every year for the holidays, I try to take the time to bake some goodies to bring into the inside team at work, to show my appreciation for all that they do for me throughout the year.  This year was no different, and this past Sunday was filled with a grocery run in the morning, and baking the remainder of the day!  Below are all the recipes that I put together to put on a platter to deliver to my company, and Joe's company.  There were a couple old recipes that I made that I will provide links to below.  Enjoy!

Soft and Chewy Chocolate Chip Cookies
White Chocolate Cream Cheese Cookies
Smores Fudge Bar

One more thing I made was chocolate covered pretzels.  They are so simple to make and make for a quick desert!  All you need are Pretzel Rods or Sourdough Pretzels , melted chocolate (white, dark, or milk) and some sprinkles for any occasion!

Finished Platter

Hot Cocoa Fudge

Ingredients
  • 3 cups milk chocolate chips
  • 1 14 oz can of sweetened condensed milk
  • 1 tbsp cocoa powder
  • 2 tsps vanilla extract
  • 1 cup marshmallow bits or marshmallow minis
Instructions
  1. Line a 9 by 9 inch pan with aluminum foil.
  2. Over medium low heat, add the sweetened condensed milk to a small saucepan. Whisk in the cocoa powder.
  3. Stir in the chocolate chips and stir consistently until well combined. Stir in the vanilla extract.
  4. Pour into the pan, and add the marshmallow bits, gently pressing them into the fudge.
  5. Refrigerate for at least four hours, covered, before removing the fudge from the pan by lifting the aluminum foil, peeling it off the fudge, and cutting the fudge to serve.
  6. Store in an airtight container at room temperature for up to two weeks.
Original Recipe from here

Cookies and Cream Fudge

Ingredients:

3 cups white chocolate chips, melted and cooled
8 ounces cream cheese, softened
1 stick unsalted butter, softened
1 teaspoon vanilla extract
2 cups powdered sugar
26 Oreo cookies, crushed

Directions:

Line a 9-by-13-inch pan with parchment paper. Lightly spray the parchment with baking spray or grease with butter. In the bowl of your stand mixer attached with the paddle attachment, beat cream cheese and butter until smooth. Add vanilla and mix until combined. Slowly add the powdered sugar until thoroughly combined. Mix in the melted chocolate until the mixture is light and fluffy, about 1 minute.
Stir in the crushed Oreo pieces.  Spread the mixture evenly into your prepared pan. Refrigerate for at least 2 hours. Cut into 1-inch cubes. Store in an airtight container in the refrigerator until ready to serve.

Original recipe from here 

Double Decker Chocolate Peanut Butter Fudge

Ingredients:
1 (10-12 oz) bag peanut butter chocolate chips
1 (10-12 oz) bag semisweet chocolate chips
4 1/2 cups white granulated sugar
14 oz jar marshmallow creme
1 1/2 cups evaporated milk
1/2 cup butter
2 teaspoons vanilla extract

Directions:
Line a 13X9″ baking pan with aluminum foil.  Using two large bowls, pour peanut butter chips in one and chocolate chips in the other.  Combine the sugar, marshmallow creme, evaporated milk, and butter in a large saucepan and cook over medium heat. When the mixture comes to a boil, stir continuously for 5 minutes (let it boil the entire time you are stirring). Remove the saucepan from heat and add vanilla. Quickly stir to incorporate.

Carefully pour half of the mixture into the peanut butter chips bowl and the other half into the chocolate chips bowl. Stir the peanut butter chips until they are melted and the mixture is smooth (it will take a minute or two). Pour the peanut butter mixture into the bottom of the pan lined with foil.

Now stir the chocolate chip mixture until the chips are completely melted and the mixture is smooth. Carefully pour and spread on top of the peanut butter layer in the pan (I slowly and carefully poured mine on top, then used a spatula to spread it to the edges- if you pour too quickly, it will make holes and dents in your fudge).

Let the fudge cool for a couple of minutes before placing in the fridge. Allow fudge to set up for 2-4 hours, then cut and serve.
 Original recipe from here

Candy Bar Fudge

Ingredients:
  • 1 cup milk chocolate chips
  • 1/4 cup creamy peanut butter
  • 4 tablespoons butter
  • 1 cup sugar
  • 1/4 cup evaporated milk
  • 1 1/2 cups marshmallow crème
  • 1/4 cup creamy peanut butter
  • 1 teaspoon vanilla extract
  • 1 cup salted peanuts
  • 14-oz. bag caramels, unwrapped
  • 1/4 cup evaporated milk
  • 1 cup milk chocolate chips
  • 1/4 cup creamy peanut butter
Instructions:
  1. Coat a 9x13 pan with cooking spray and set aside.
  2. FIRST LAYER: In a small bowl, combine chocolate chips and peanut butter. Heat in the microwave in two 30-second intervals, stirring after each interval. Stir until creamy and pour in an even layer into the bottom of the prepared pan. Place pan in freezer.
  3. SECOND LAYER: In a medium saucepan, melt the butter over medium heat. Stir in the sugar and evaporated milk and bring to a boil. Cook, stirring constantly, for 3 minutes. Remove from heat and immediately stir in marshmallow crème, peanut butter and vanilla. Add peanuts and stir until incorporated. Pour mixture over the chocolate layer from the freezer and spread evenly. Place back in freezer.
  4. THIRD LAYER: Add the caramels and evaporated milk to a small saucepan. Cook over medium-low heat, stirring constantly, until caramel is melted and smooth. Remove pan from freezer and pour caramel over the second layer. Place back in freezer.
  5. FOURTH LAYER: In a small bowl, combine chocolate chips and peanut. Heat in the microwave in two 30-second intervals, stirring after each interval. Stir until creamy and pour in an even layer onto the top.
  6. Refrigerate for a minimum of 1 hour and cut into squares when ready to serve. Keep refrigerated.
Original Recipe from here

S'mores Fudge Bars

This is a more complicated recipe, and it takes some time.  That being said, it is WELL worth it.  This is one of Joe's favorite desert, and I think a lot of it has to do with the fact that all of it is made from scratch.  It is a very rich desert but is so full of flavor.  The homemade marshmallow really take the desert over the top.  It is such an important step in the process of making the recipe!  I will forewarn you that it can get quite messy making marshmallows with all of the stickiness and can be a pain to clean, but well worth it!  Enjoy!


S'mores Fudge Bars

Ingredients:

Crust:
18-20  full graham crackers
1/4 cup granulated sugar
1/2 teaspoon salt
8 tablespoons unsalted butter, melted

Fudge filling:
2 cups semisweet chocolate chips
1 (14 ounce) can sweetened condensed milk

Marshmallow topping:
2 large egg whites
1/4 teaspoon cream of tartar
3/4 cup granulated sugar
1/2 cup light corn syrup
1/4 cup water
1/4 teaspoon salt
1 1/2 teaspoons vanilla extract

Directions:

For the crust:
Preheat the oven to 350°F. Line an 8x8-inch baking pan with foil. Place the graham crackers, sugar, and salt in the bowl of a food processor and pulse until finely ground. Add the melted butter and pulse until the mixture is moistened. Press the mixture into the bottom of the prepared baking pan. Bake for 10 minutes. Remove to a cooling rack and let cool completely.

For the filling:
In a small saucepan set over medium-low heat, combine the chocolate chips and condensed milk. Heat until the mixture is melted, thick, and smooth, stirring constantly. Pour over graham cracker crust. Place in the refrigerator while making the marshmallow topping.

For the marshmallow topping:
In the bowl of an electric mixer fitted with the whisk attachment, beat the egg whites and cream of tartar until soft peaks form.

Meanwhile, in a small saucepan set over medium-high heat, combine the sugar, corn syrup, water, and salt. Bring the mixture to a boil and continue to cook until a candy thermometer registers exactly 240°F.  Immediately remove from heat. Turn the mixture on low speed and carefully and gradually drizzle the syrup into the egg whites. Increase speed to medium-high and beat until the mixture is thick and glossy and looks like marshmallow fluff, about 7 minutes longer. Add in the vanilla and beat until combined.

Spread the marshmallow topping evenly over the chocolate fudge layer. Use a kitchen torch to gently torch the marshmallow layer until lightly golden. Alternatively, place the pan under the broiler and broil for 1 minute, or until lightly golden.

Refrigerate the pan for at least 1 hour before cutting into squares and serving. The squares can be stored in an airtight container in the refrigerator for up to 5 days.

Original Recipe from here

Soft and Chewy White Chocolate Cream Cheese Cookies

I have been making the chocolate chip recipe for quite some time now, and it literally makes the softest, chewy cookies ever!  Since they have been Joe's go to request for desert, I decided it was about time to switch it up just a bit.  It is the same recipe, just white chocolate based instead of milk chocolate!  Enjoy!

Soft and Chewy White Chocolate Cream Cheese Cookies

Ingredients:

1/2 cup (1 stick) unsalted butter, softened
2 ounces (about 1/4 cup ) cream cheese, softened
3/4 cup light brown sugar, packed
1/4 cup granulated sugar
1 large egg
2 teaspoons vanilla extract
2 cups all-purpose flour
one 3.5-ounce packet instant white chocolate or cheesecake-flavored pudding mix
1 teaspoon baking soda
2 cups white chocolate chips

Directions:

  1. In the bowl of a stand mixer combine the butter, cream cheese, sugars, egg, vanilla, and beat on medium-high speed until creamed and well combined, about 4 minutes
  2. Stop, scrape down the sides of the bowl, and add the flour, dry pudding mix, baking soda, and beat on low speed until just combined, about 1 minute.
  3. Stop, scrape down the sides of the bowl, and add the white chocolate, and beat on low speed until just combined, about 30 seconds.
  4. Using a  1/4-cup measure, or your hands, form approximately 13 to 14 equal-sized mounds of dough, roll into balls, and flatten slightly.
  5. Place mounds on a large plate or tray, cover with plastic wrap, and refrigerate for at least 3 hours, up to 5 days. Do not bake with unchilled dough because cookies will bake thinner, flatter, and be more prone to spreading.
  6. Preheat oven to 350F, line a baking sheet. Place dough mounds on baking sheet, spaced at least 2 inches apart and bake for about 11 minutes, or until edges have set and tops are just set, even if slightly undercooked, pale, and glossy in the center; don't overbake. Cookies firm up as they cool. Allow cookies to cool on baking sheet for about 10 minutes before serving.
     Original recipe from here

    Wednesday, December 3, 2014

    Tuscan Tortellini Soup

    So I have been traveling a lot for work and we are very much in the holiday season, so life is busy!  With that, you eat more deserts, you go out to eat more due to the lack of time, and home cooked meals get forgotten.  This week, we decided we would try a couple new meals, so that we make sure we have time to sit down and eat dinner and enjoy some time together.  It may not be cold out, but I can use any excuse to make a good soup.  Since it is December now, why not make soup and pretend it is winter!  So, we tried a new soup, that is quite healthy and amazing!  It is hardy so you don't have to make anything with it, except maybe some rolls.  This is really one of my favorite new meals in a while and it is healthy, so enjoy!

    Tuscan Tortellini Soup
     
    Ingredients
    • 1 ½ lbs. Italian chicken sausage
    • ½ red onion, chopped
    • ½ yellow onion, chopped
    • 2 tablespoons olive oil
    • 5 garlic cloves, minced
    • 2 (28 ounce) cans crushed tomatoes
    • 6 cups chicken broth
    • 4-6 cups kale, roughly chopped
    • 1 cup of milk
    • 1 box package of cheese tortellini
    • 1 cup + more for topping parmesan or asiago cheese, grated
    • Salt & white pepper to taste
    Directions

    In a heavy-bottomed pot,  heat 1 tablespoon of olive oil and Italian chicken sausage. Once completely cooked, drain and set aside. Then in the same pot, heat 1 tablespoon of olive oil, add onions and garlic and cook until tender. Once onions and garlic are caramelized, add crushed tomatoes, chicken stock, browned ground sausage & kale. 

    Bring to a boil- stirring frequently, add pepper and salt to taste.  Continue to boil 5-10 minutes to allow flavors to merge. Add cheese tortellini and cook until al dente (read package for time). Add milk  and parmesan cheese. Simmer for a few more minutes.

    Remove from heat & serve. 

    Sunday, November 9, 2014

    Burlap Wreath DIY

    I made a wreath in the summer (which I will post later), but recently I wanted to make a more fall wreath for our door.   Burlap gives such a fall feeling, so I set out to find a webpage that helped me make a DIY wreath.  It is actually quite simple and the whole project can be completed within an hour.  Michael's is normally my go to store since they are just down the street and always have coupons, but I bought my colored burlap off Amazon.  You don't need much, so I will start with a shopping list.  Below is what you will need for your wreath.

    • 2 x 10 yard rolls of burlap (4 or 5 inches wide, I used 4)
    • Wire wreath base - I used a 18"
    • Wire or twine used to fasten burlap to base
    • Decore as desired (below is what I used)
      • 5 yds Orange Burlap (4" wide)
      • 2 fall colored flour bunches
      • Wooden Initial (8")
      • White Paint 
      • Paint Brush
      • Hot Glue
    Now that you have everything you need, I will start by showing the links I used to better understand how to make the base of the wreath. Depending on how tight you wind the burlap, you may need 1 or 2 of the 10 yd rolls.  I used about 1 1/2 but mine were pretty close together.

    YouTube Video
    Written Instructions

    Between these two videos, I thought I had it under control.  I was worried about messing it up, but there really is no way to mess it up!  Some loops can be a bit bigger, some can be a bit smaller, in the end it balances out.  I also had a random pattern when doing the wreath so that it did not get too structured.  No joke, you can do it however you would like and it turns out great!

    After the wreath was complete, I took white paint and panted the wooden initial.  I wanted it to stand out so I just painted it with a simple acrylic paint.  While the letter was drying, I made a bow.  I had made several bows in the past year for various projects, so you really can Google bow making and find one to your taste. I made a bow similar to the below.

    How to Make a Bow

    Once that was set, I cut the flowers off of the bushels I had bought.  I chose red, yellow, orange, and white as the base of this wreath to make it very festive for fall.  Now that everything was ready to decorate, it was time to fasten.

    Using a fastening wire, attach the bow and flowers to the completed burlap wreath.  The letter is a bit harder to attach, so I went ahead and just glued the letter to the wreath, then weighted it with a book for a couple hours and it was stuck on there forever!  And here you go, my completed fall wreath!

    Thursday, October 23, 2014

    Healthy Italian Wedding Soup

    We all know that with the weather getting colder, it is finally soup weather again.  Soup is one of my favorite things to make!  It is so comforting in the fall and winter, and normally quick to make!  I had wanted to make Italian Wedding Soup for quite some time, but as you all know, dinner time for us is healthy for the most part.  I traveled quite a lot the past couple months, so with a week from home, I definitely wanted to make some soup.

    This soup turned out absolutely amazing.  It is so quick to make, and was so healthy.  The meatballs take the longest to make, but can be made before hand if you need to.  Because I do not like beans, that was skipped on our end, but most recopies call for beans!  It is such a hardy soup that you really don't need to make anything else with it.  It will fill you up more than you think!  It makes about 6 servings, depending on how much you eat, but it is easy to make it a larger or smaller batch.  So, here we go!

    Italian Wedding Soup

    Serves 6-8

    Ingredients:

    Soup ingredients:
    1-2 tbsp olive oil
    1-2 large carrots, sliced
    1 large onion, chopped
    1 medium zucchini, chopped
    2 cloves garlic, minced
    2 tsp dried basil
    1 1/2 tsp dried Italian seasoning
    1/2 tsp ground pepper
    1/4 cup white wine (optional)
    8 cups chicken broth (low sodium)
    6oz baby spinach, chopped
    1 1/2 cups pearl couscous (found near the rice in grocery stores) or small pasta


    Meatball ingredients:
    1lb ground turkey
    2 tbsp milk
    1 egg
    1/4 cup Parmesan cheese
    3/4 cup whole wheat breadcrumbs
    1/4 tsp salt
    1/2 tsp garlic pepper pepper
    1/2 tsp red pepper flakes
    1/2 tsp Italian seasoning
    1. In a heavy-bottomed soup pot, heat olive oil. Add carrots and onions; saute for 5-8 minutes or until softened. Add garlic; cook 2 minutes more.
    2. Add wine; cook down for 2 minutes. Add broth, heat to slow boil.
    3. Add zucchini, seasonings, pasta/couscous, and meatballs. Cook for about 10 minutes, or until your pasta is tender.
    4. Add chopped spinach, stir through until wilted, about 2-4 minutes.
    5. Serve - some people prefer to add cheese on top, fresh Parmesan is the norm!
    Meatballs
    1. Preheat oven to 350 degrees. Line a large baking sheet with a SilPat or regular foil and coat with non-stick spray.
    2. In a large bowl, combine all ingredients well. Using a rounded 1 tbsp measuring spoon or small melon baller, scoop out meat; shape into small balls. Makes roughly 100  meatballs, depending on how small you make them.
    3. Place meatballs on baking sheet, making sure they don’t touch. Bake for 10 minutes.

      Sunday, October 12, 2014

      St. Simons Island - Labor Day Weekend

      Labor Day weekend may have been a long time ago, but with work being crazy, travel being at an all time high, and life just being busy, the blogging has dropped off quite a bit.  We knew that summer was coming to an end as labor day weekend was approaching and didn't get to spend much time this summer at the beach.  We had some friends that were off of school, so we decided it was the perfect time to take an extended weekend enjoying the sun!  We hit the road on Thursday after everyone finished up work and started the drive in the direction of St. Simons.  We had booked a hotel along the way, so around midnight, we made our destination.  Kellie Ann and Reza were with us, so once we made it to the hotel, we went to sleep pretty quickly since we knew we wanted to hit the road pretty early on Friday.

      Friday we got up and drove the remaining hour to St. Simons.  As soon as we got there, we hit the beach and met up with Duncan and Allie, who had stayed on St. Simon the previous night.  After enjoying some time at the pool, we finally got to check into our place.  We rented a beautiful place in Coast Cottages.  The place had 4 huge bedrooms, three stories, and a beautiful balcony, kitchen, and living room on the bottom floor.  That was plenty of room for the 8 of us! We also had private beach access, two beautiful pools, and bikes to go explore the island!
      walkway to the beach
      sunset from our rooftop
      The weekend was the perfect weekend.  It was spent with wonderful company.  The mornings normally started with a beautiful bike ride.  We were lucky to have 6 bikes at the house so we would explore different areas of the island once we woke up.  After our bike ride, we would enjoy breakfast, then head to the pool.  The pool was beautiful, relaxing, and didn't require any work, so we would relax there until lunch time.  After lunch back at the house, we would set up at the beach for the remainder of the day.  We had brought a tent to make sure we didn't get too much sun, corn hole, soccer balls, and everything needed to entertain us.  The weather really was perfect all 4 of the days, and only started raining after we hit the road on Monday to head home after some time at the pool.  Once we had enough of the beach, we would pack up, stop for some more fun at the pool, and then head back to our house.
      The Whole Crew!

      Bike Crew!
      As far as dinner went, we cooked two of the three nights.  One of the nights we made steak and chicken fajitas,and the other night we made a low country boil.  Both are super simple to make with a large group, don't take too much prep time, and everyone was happy!  The one night we went out to eat, we headed to Catch 228.  Joe and I had been there before, and knew it was amazing!  Needless to say, all of us got our fill of seafood! 
      The trip was absolutely perfect and we couldn't have asked for better weather for our labor day weekend.  The company was great, the location was beautiful, and it was a much needed break from the real world.  After getting home, it was time to hit the ground running again and finish up the year at work.